How I built a homelab with Red Hat Enterprise Linux (RHEL)
Table of Contents
As a recovering sysadmin, the last thing I want is to end up being technical support at home. I often tell people that I wish I had the tools available in Red Hat Enterprise Linux (RHEL) now when I was a fresh Linux sysadmin.
So I’ve set a challenge for myself: to implement some of the best practices in our industry using only Red Hat or Red Hat “adjacent” tools, whether upstream or partner software.
My goals here are simple: I want to build out a homelab that:
- Allows me to spin up virtual machines (VMs) in an unattended fashion
- Provides demo-ready RHEL systems for topics I cover regularly (for example, in-place upgrades, Image Builder, and more)
- Is capable of self-healing my home “production” services (including Plex, Valheim, and Home Assistant)
I hope this series will help you either with your homelabs or think differently about how you administer your employer’s infrastructure.
My old homelab setup #
Currently, I have a single-node server running RHEL 9.1. Eventually, I need to rebuild this server from scratch. It’s packed with several TB of storage, 24 cores, and 128GB of RAM.
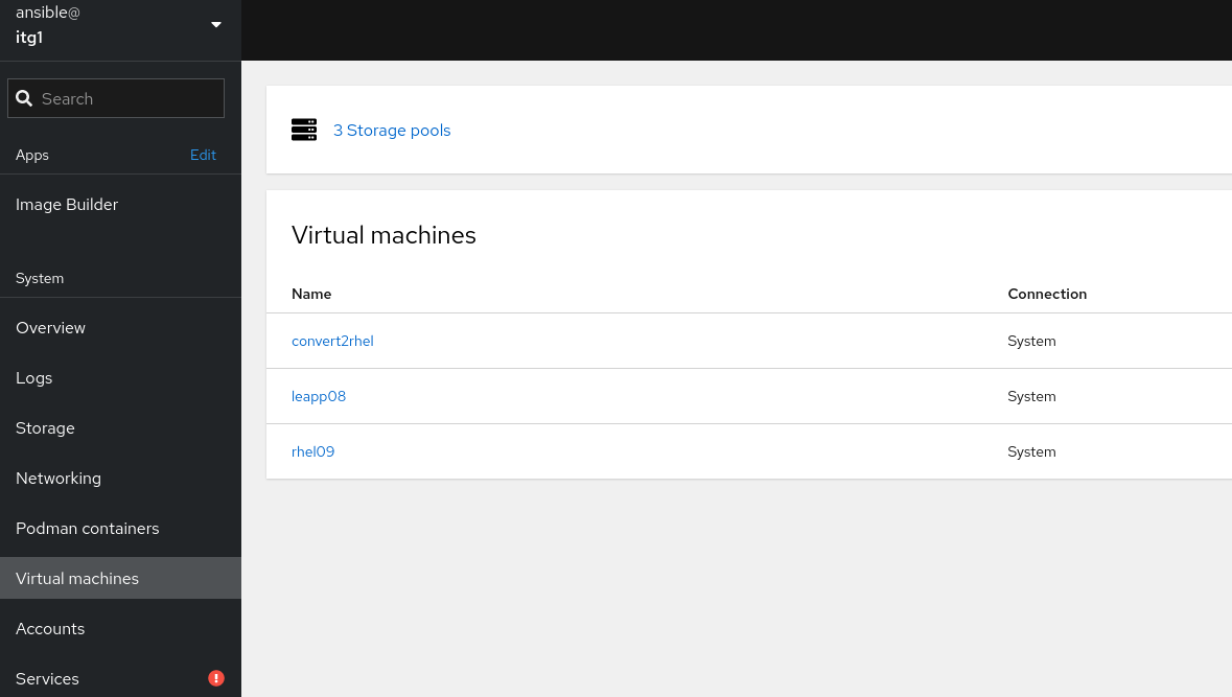
I have several RHEL virtual machines that I set up for demos I do at conferences, webinars, and live streams. These include a Convert2RHEL demo, in-place upgrades, and a sandbox system. I also have several Podman pods running that constitute my “production” services: Home Assistant, WordPress, Minecraft, and others.
I make copies of the qcow2 files for my VMs. My container pods are running as root. I have no offsite backups. The ol’ sysadmin inside me screams when I think about how inefficient this is.
Building my new homelab #
Now, I’ve got some objectives; I have a plan (sort of). It is time to get started.
My existing server host needs to remain in place until I’m confident I can rebuild the services (and their applicable data) in an automated fashion. This bodes well for the project because I can build out the “next generation” of servers in isolation before introducing it into production.
In all the environments I worked in, I tended to build a jump or utility server to store all my tools and act as a single point to administer the rest of my environment. That is where I am going to start.
Since this utility server will be temporary, I want the quickest route to the live system. For me, that’s using the web console (the downstream of Cockpit) with the VM tool and a RHEL 9.1 ISO.
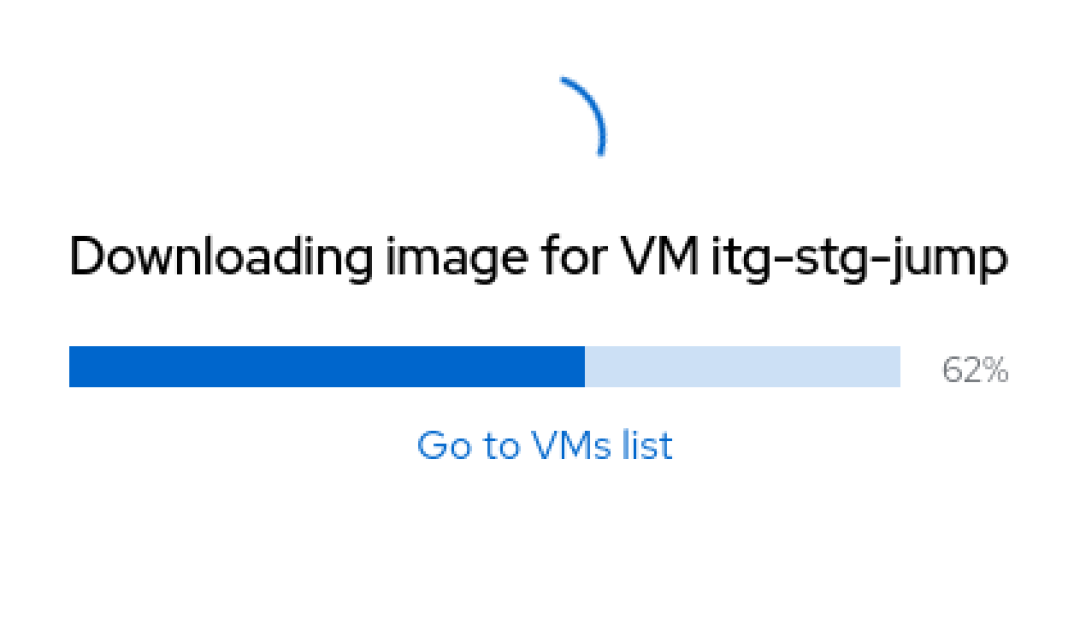
I’ll select Create VM. Luckily, the web console makes it incredibly easy to spin up a new VM: Fill out a few fields and wait.
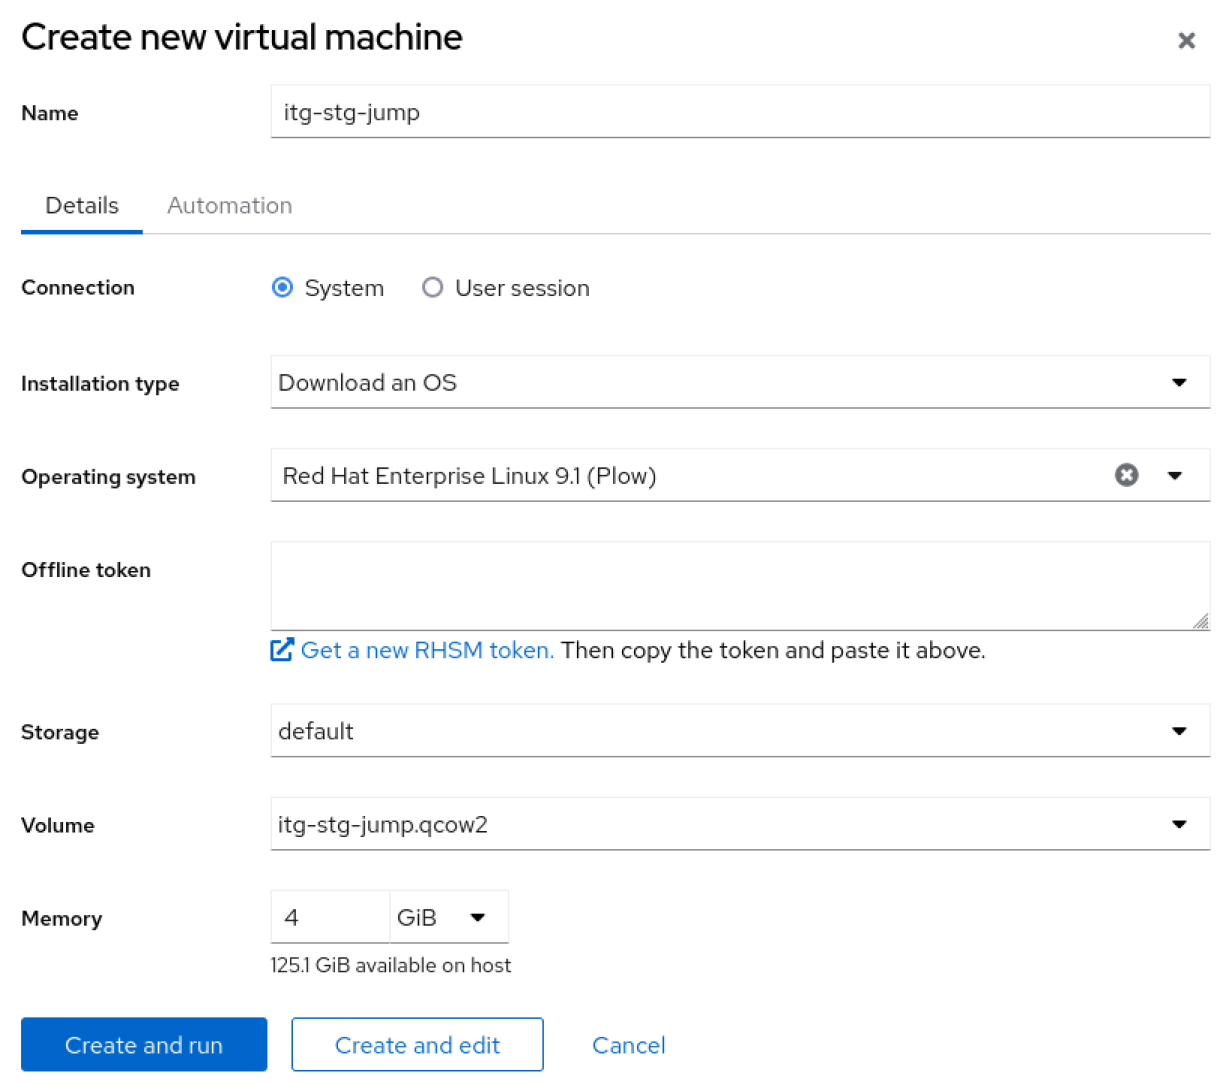

What’s with the hostname, itg-stg-jump? Well, old habits die hard. Back in the day, I worked for a company that had servers in multiple datacenters. So the first stanza (itg) is the location. In this case, my homelab: the IT Guy. The second stanza (stg) is the environment, in this case Stage. Finally, the last stanza (jump) is the application it is running.
If you are wondering, yes, I took all the defaults and the simplest configuration possible. There is no fancy filesystem layout or security profile. I will add all that to later iterations of my golden image.
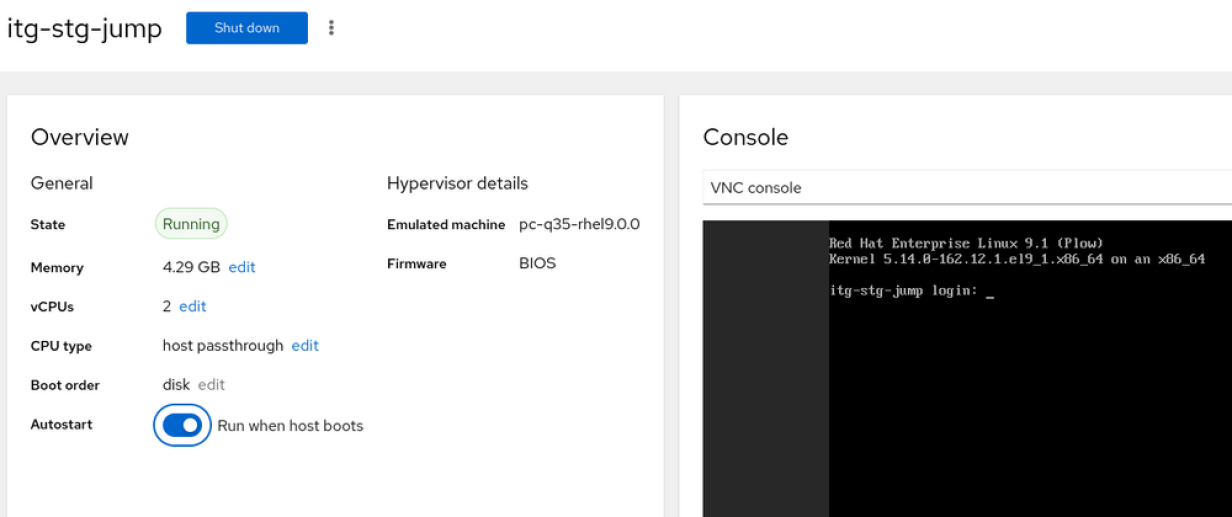
While the system is booting up, I am going to go ahead and mark this VM to start on boot.
Bingo, I have a jump server ready for use. I am going to go ahead and install any available updates, install Git and Vim, and enable the web console.
## sudo dnf clean all && sudo dnf update -y
## sudo dnf autoremove -y
## sudo dnf install -y cockpit cockpit-composer
Then enable the web console and reboot.
## sudo systemctl enable --now cockpit.socket
## sudo reboot
Wrap up #
I hope this article becomes a series of posts (and maybe some live coding events). In the next edition, I will revisit our utility server and build the first Image Builder blueprint. That will be the basis of all the other images and servers I will use in future posts.
This article was originally published on the Enable SysAdmin blog.
You might also like

Build a golden image for your RHEL homelab with Image Builder
In How I built a homelab with Red Hat Enterprise Linux (RHEL), I laid out my plans for revamping my home lab using as many Red Hat Enterprise Linux …
2 tools to manage infrastructure sprawl with Red Hat Enterprise Linux (RHEL)
For a systems administrator, it seems like every project brings new complexity, more servers, and more sprawl to manage. I will assume that your …

How to install RHEL a new way with image builder
I am sure many sysadmins can relate to this scenario: